You already know that I love getting my monthly Birchbox, and I shared the last one on Tuesday.
But now I have compiled a large collection of the empty boxes.
Being someone who strives to put everything to good use (not to mention someone
who needs more storage in my studio apartment) I decided to decorate and
display the empty boxes. Functional and cute? Sign me up.
The North wing of my apartment (okay, fine, I guess I could
say in the corner of my apartment. Yes, I am fully aware that my studio
apartment is only one room, but old habits die hard) is a bit girly and pink.
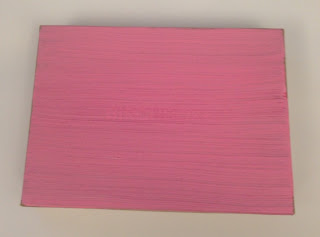
So I needed to create a box to match! I started by painting the top of the box
pink.
After the pink paint dried, I applied some tie-dye duct tape
and peace sign stickers. After taping a stripe down the center of the box (to
cover the ‘Birchbox’ label) I randomly stuck on a few of the stickers.
Next, I used some Modge Podge to glue on a few gems.
I purchased some letter beads at a craft store, applied some
more Modge Podge, and stuck the beads on, writing ‘LOVE’, ‘KISS’ and glued on
some individual heart beads.
The sides on the box also need to be covered, so I used more
duct tape.
After wrapping the tape around the edges, snip the corners
so the tape will lie flat.
Repeat on the bottom half of the box so that the entire box
is covered.
Finally, paint a coat of Modge Podge over the entire lid of
the box, which will ensure the beads don’t fall off.
Voila! Your gorgeous box is complete!
Now onto the living room West wing of the apartment (aka the
other corner). This area is not as pink, so I needed something darker. For this
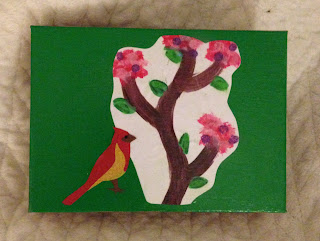
one I started by painting the top of the box dark green. While the paint was
drying, I grabbed a white piece of paper and painted a tiny tree and cut it
out. I then applied some Modge Podge over the middle of the box and stuck on
the paper. Once it was flattened out against the box I painted the Modge Podge
over the entire top of the box.
A few months ago I tried doing a velvet manicure, it was unimpressive and I did not plan to do it again. I did
save the supplies and put them to good decorating use for the box.
Once the coat of Modge Podge on the top of the box had
dried, I used a fine paintbrush to paint little dots and lines on the leaves
and flowers and then sprinkled on the crushed velvet.
After shaking off the excess velvet, I used some purple
glitter glue to dot the flowers. What can I say? I love glitter.
My last step was applying the bird sticker next to the tree. Ta-da! Box complete!
Perfectly Glossed Kisses,
Sutton


No comments:
Post a Comment